Ingredients - dough:
-
60 grams yeast (or one bag of dried yeast)
-
500 grams plain flour
-
1/2 teaspoon ground cardamomme
-
90 grams sugar
-
125 grams melted butter
-
3 and 3/4 dl luke-warm skim milk
Ingredients - filling: soft margarine/butter spread; sugar; cinnamon; and raisins
Mix yeast, some sugar, and a little luke-warm water in a small bowl. Leave this to stand until it becomes frothy. Mix flour, cardamomme, and sugar in a bowl. Add melted butter, 3 dl of the luke-warm milk, and the yeast mixture to the bowl. Mix well and add more milk or flour until the dough is firm but still a bit sticky.
Leave dough in a warm place with no draft for at least 30-60 minutes until it has risen to twice its size.
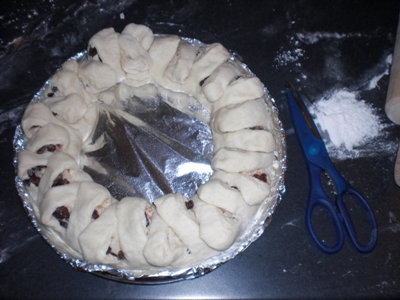
Use a rolling pin to roll out the dough to a layer that is as long as you want the Kringle to be and less than 1/2 cm thin. Spread some soft margarine/butter spread and sprinkle sugar cinnamon and raisins. Roll the dough as shown on the photo and place it in a circle on the baking sheet. Starting at one end, use a pair of scissors to cut 1-2 cm wide wedges and fold to the left and right all around the circle to make the garland pattern.
Leave the Kringle to rise for 30 minutes then brush some milk over the surface. Bake in the middle of the oven at 190 celsius for 30-40 minutes. Once it has coooled down, brush a thin layer of icing over the Kringle. - then enjoy!
Janet (Hild’s mum) keeps telling us that left-overs keep really well in the deep freezer and a short time in the microwave does the trick when you need a snack one day. We, however, have no idea if it works because we haven’t had any left-overs yet!!
Some photos:
Photo: Rolling out the dough…. (Doing it again, I would have rolled it thinner/wider to get more cinnamon-swirls in the final product)
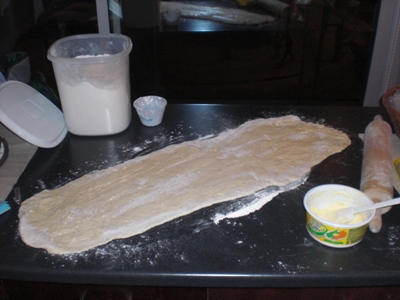
Photo: Cake ready for cutting the garland-pattern
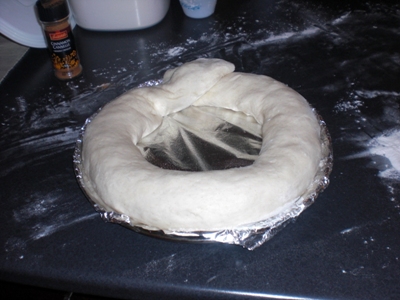
Photo: Cake with garland-pattern ready for baking.
Sorry - no after-baking photo as we ate it before we got the camera out!